Webflow AI Site Builder: The Future of Web Design in 2026
Know how Webflow AI Site Builder is revolutionizing web design in 2026. Build stunning, fast, and custom websites with the power of artificial intelligence.

Let me share something that might surprise you: some of the best websites we've built started as templates.
That's not what most agencies want to admit. There's this perception that custom Webflow website design means starting from a blank canvas every single time.
But after building 200+Webflow sites, we've learned that smart template customization often delivers better results faster—and at a fraction of the cost.
Here's the real question: why do some template-based sites look stunning and unique while others scream, "I bought a template"?
The difference isn't the template. It's how you customize it.
A client came to us last quarter with a $3,000 budget and a two-week deadline. Starting from scratch wasn't realistic. We grabbed a premium template and spent 12 hours on strategic customization.
That's the power of knowing how to transform a custom Webflow design template into something that feels completely original.
In this guide, I'm sharing the exact Webflow website customization techniques we use at our agency—the same strategies that let us deliver high-end results on startup budgets and tight timelines.
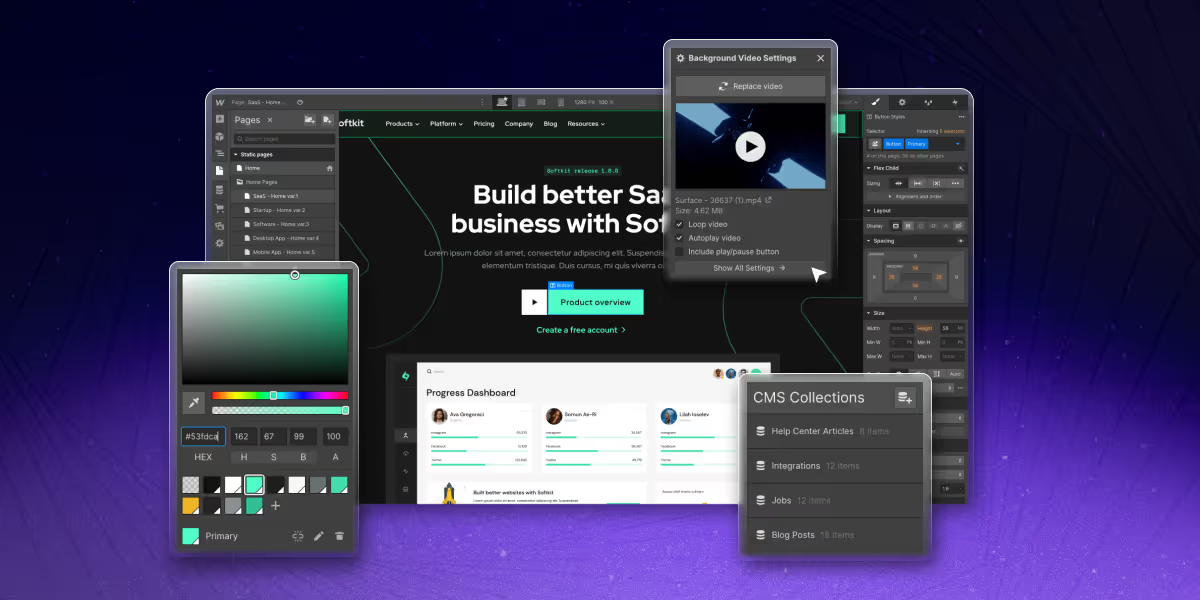
Webflow templates aren't like WordPress themes that restrict what you can change.
Every element in a Webflow template is fully editable:
This flexibility is what makes Webflow template development so powerful. You're not fighting against limitations—you're building on a solid foundation.
Webflow's marketplace now has over 2,000 templates. Here's how to navigate them:
Our recommendation: For client work, we almost exclusively use premium templates priced between $79 and $149. The quality jump from free to premium is significant—better structure, cleaner classes, and a more thoughtful CMS setup.
This might cost us business, but here's the truth: not every project needs a fully custom Webflow design service.
Templates make sense when:
Custom design is worth it when:
Stop Choosing Templates Based on Screenshots
This is the biggest mistake we see. The template looks beautiful in the demo, but once you start customizing, everything falls apart.
Here's what matters when selecting a template for Webflow website customization:
Open the template in the Designer and check how the classes are named:
Clean class naming means easier customization and maintenance. Messy classes mean you'll spend hours just figuring out what controls what.
Professional templates include a style guide page with:
If a template lacks this, you'll be hunting through individual elements to change global styles. Not worth the headache.
For content-driven sites, examine the CMS setup:
Preview the template at every breakpoint. Some templates look great on desktop but fall apart on mobile. Since 60%+ of traffic is mobile, this is non-negotiable.
Check if the template includes:
Adding these from scratch is time-consuming. Starting with a template that has them is a major time-saver.
First rule of Webflow template development: always create a backup.
Before making any changes:
We've all seen designers spend hours customizing, accidentally break something fundamental, and have no way to recover. Don't be that designer.
Spend 20-30 minutes just exploring before changing anything:
Understanding the template's logic saves hours of frustration later.
Before customization, gather:
Having this ready prevents the constant back-and-forth that slows projects down.
This is where custom Webflow design efficiency lives.
Most premium templates have a dedicated Style Guide page. Here's how to use it:
Typography Updates:
Color Palette:
Buttons and CTAs:
Pro tip: We spend 60% of our customization time on the Style Guide page. Getting this right means the entire site updates automatically.
Symbols in Webflow are reusable components. Common symbols include:
When you edit a symbol, every instance updates. This is powerful—but also dangerous. Make intentional changes and preview the impact across pages.
Don't customize every page equally. Focus on:
For each priority page:
Headlines:
Images:
Body Copy:
Templates provide structure, but don't be afraid to modify it:
The 70/30 Rule: Aim to keep roughly 70% of the template's structural decisions while customizing 30% for uniqueness. This balances efficiency with originality.
This is where Webflow's custom design services really shine:
Scroll Animations:
Hover States:
Page Transitions:
Word of caution: Don't over-animate. Subtle, purposeful animations enhance UX. Excessive animations can feel gimmicky and slow down your site.
If your site uses Webflow CMS:
Example: A client needed case studies with video testimonials. The template had a basic portfolio collection. We added custom fields for video embeds, client logos, industry tags, and results metrics—transforming generic portfolio items into rich case studies.
Sometimes templates need functionality they don't have:
Common custom code additions:
Where to add custom code:
Templates are responsive, but "responsive" doesn't mean "optimized".
Check each breakpoint:
Common mobile fixes:
Test on real devices: The Webflow preview is helpful, but always test on actual phones and tablets before launch.
Mistake 1: Changing Classes Instead of Creating New Ones
When you change a class that's used elsewhere, you affect every element that uses that class. Sometimes that's intentional. Often it's not.
Solution: Create combo classes or new classes for unique elements. Leave base classes intact for consistency.
Mistake 2: Ignoring the Style Guide
Skipping straight to page editing means making the same changes dozens of times instead of once.
Solution: Always start with global styles. Twenty minutes on the Style Guide saves hours later.
Mistake 3: Over-Customizing
Adding too many custom sections, animations, and effects can result in a Frankenstein site that feels disjointed.
Solution: Maintain design consistency. If the template uses certain animation styles, stick with them throughout.
Mistake 4: Forgetting About Performance
Heavy images, excessive animations, and third-party scripts can tank your site speed.
Solution: Optimize images, limit animations, and audit scripts regularly. Check Core Web Vitals after customization.
Mistake 5: Not Testing Thoroughly
Launching without cross-browser and cross-device testing can lead to embarrassing issues.
Solution: Test on Chrome, Safari, Firefox, and Edge. Testing on iOS and Android. Test on multiple screen sizes.
Based on our experience with Webflow template development, here are the templates that we customize well:
For SaaS Companies:
For Agencies/Studios:
For E-commerce (Webflow E-commerce):
For Content/Media Sites:
Custom Webflow design doesn't have to mean starting from zero. It means making intentional choices that transform a foundation into something that feels yours completely.
Whether you're a business owner trying to launch quickly, a freelancer expanding your service offerings, or a marketing team that needs to move fast, Webflow template development skills will save you time, money, and headaches.
The best part? Every template you customize teaches you something new. Your fifth customization will be twice as fast as your first. Your tenth will feel effortless.
Ready to transform your next Webflow project? Start with a quality template, follow the process we've outlined, and watch a generic starting point become something uniquely yours.
And if you'd rather have experts handle the heavy lifting?
Let's talk. We've turned template customization into an art form—and we'd love to do the same for your project.
Everything. Unlike other platforms, Webflow templates give you complete control over every element—layout, typography, colors, animations, CMS structure, and custom code. The only limitation is your skill level and creativity.
For 80-90% of customization, no coding is needed. Webflow's visual editor handles typography, layouts, colors, and basic interactions. Custom code is only necessary for advanced functionality like third-party integrations or complex animations.
Focus on these high-impact changes:
Technically, yes, but proceed carefully. Different templates use different class naming conventions and structural approaches. Combining them often creates conflicts and maintenance nightmares. It's better to choose one template and build custom sections where needed.
Start with Webflow University's free courses—they're excellent. Then practice by customizing free templates before working on client projects. Join Webflow communities on Discord and Twitter to learn from other designers.

Know how Webflow AI Site Builder is revolutionizing web design in 2026. Build stunning, fast, and custom websites with the power of artificial intelligence.

See how B2B companies are driving success in 2025 with personalized pricing, chatbots, onboarding, and other proven strategies.

Find the top 10 Webflow SaaS templates for 2026. Picks the best Webflow templates to build stunning, responsive, and high-converting websites for your SaaS business.
Quick Turnaround. No Contracts. Cancel Anytime. Book a 30 minutes consulting call with our expert.